
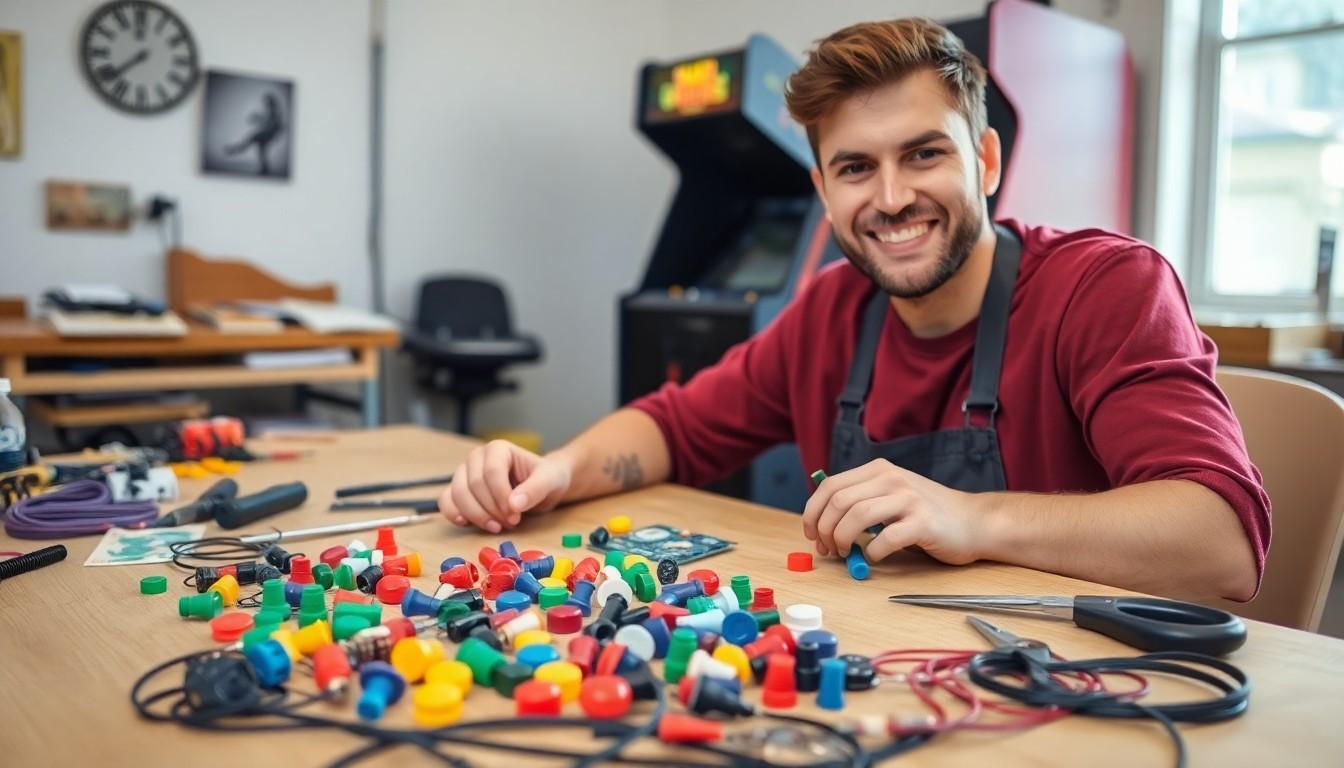
Imagine stepping into your very own arcade paradise, where the sound of retro tunes and the thrill of competition fills the air. But wait! What’s that? A malfunctioning button could turn your gaming nirvana into a frustrating nightmare. Setting up arcade buttons might seem like a daunting task, but it doesn’t have to be. With the right guidance, you can transform your setup into a seamless experience that even your grandma would be proud of.
Arcade Button Setup
Setting up arcade buttons is essential for creating an optimal gaming experience. A well-configured button setup enhances gameplay, fosters enjoyment, and minimizes issues.
Importance of Proper Setup
Proper setup ensures responsive controls, essential for arcade gaming. Responsiveness directly affects game performance and player satisfaction. Misconfigured buttons may lead to frustration, undermining the gaming experience. Accurate wiring and component placement guarantee that each button performs as intended. Enjoyment does not come from only gameplay but also from seamless interaction with hardware. A well-executed button setup contributes to a polished final product, elevating the entire arcade journey.
Common Types of Arcade Buttons
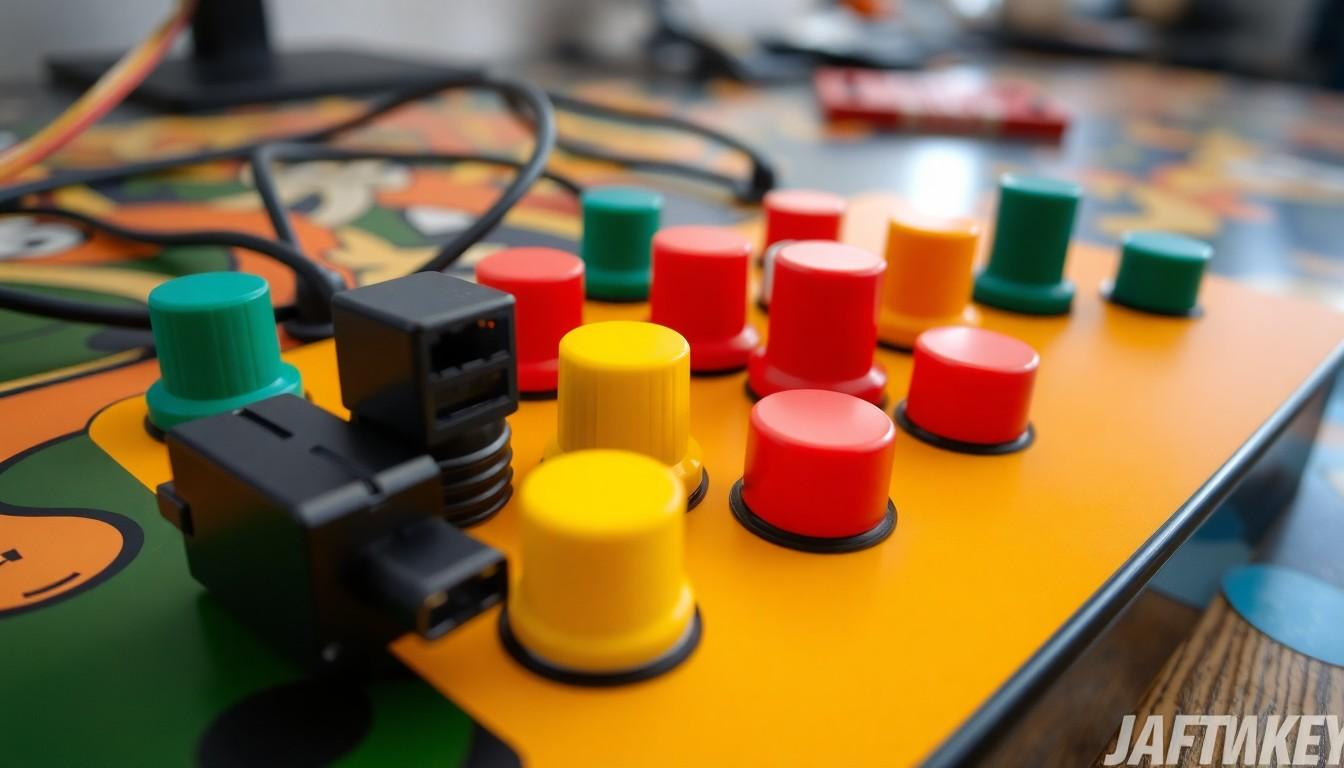
Common arcade button types include joystick buttons, push buttons, and illuminated buttons. Joystick buttons often control movements or actions, commonly found on various arcade machines. Push buttons serve as action triggers, allowing users to execute commands quickly. Illuminated buttons provide visual feedback during gameplay, enhancing the overall aesthetic. Each type varies in design and functionality, catering to different gaming preferences and styles. Players often choose buttons based on whether they prefer tactile feedback or visual enhancements.
Components of Arcade Button Setup
Understanding the components of an arcade button setup is crucial for creating an optimal gaming experience. Key areas include wiring essentials and interface options.
Wiring Essentials
Wiring plays a vital role in button functionality. Players rely on proper connections to ensure responsiveness. Use quality wiring that can handle the electrical load without overheating. Each push button typically features two terminals for connection to the control board. Connect one terminal to ground and the other to the input pin for signal transmission. Additionally, opt for wire gauges that suit the arcade’s power requirements, generally 22 AWG or similar. Secure connections prevent interruptions, maintaining a reliable performance during gameplay.
Interface Options
Various interface options exist for connecting arcade buttons to a system. USB encoders provide a simple plug-and-play solution, perfect for users seeking convenience. Alternatively, GPIO (General Purpose Input/Output) interfaces offer flexibility for more advanced setups. Each method has its advantages;USB encoders typically suit beginners while GPIO appeals to tech-savvy enthusiasts. Wired connections deliver lower latency compared to wireless options. Moreover, software configuration may present different requirements depending on the chosen interface, making research essential for optimal setup.
Step-by-Step Guide to Setting Up Arcade Buttons
Setting up arcade buttons requires organization and attention to detail for optimal performance. This guide provides clarity on essential steps for a successful setup.
Preparing Your Workspace
Clear a flat surface with adequate lighting for the setup process. Gather all necessary tools and materials, including arcade buttons, wiring, and an interface board. Lay out each component for easy access, ensuring no parts get misplaced. Comfortable seating enhances focus during the installation process. Utilizing a clean, organized workspace minimizes distractions and promotes efficiency.
Installing the Buttons
Begin by identifying the mounting holes on your arcade panel. Position each button according to your desired layout, typically following a standard configuration. Insert the buttons through the panel and secure them using the provided locking nuts. Tighten the nuts by hand until snug to avoid damaging the panel. Test each button to ensure proper placement before completing the installation. Each button should click and feel responsive, confirming readiness for the wiring stage.
Connecting the Wiring
Utilize 22 AWG wire for optimal performance and flexibility during the wiring process. Strip approximately 1/4 inch from each wire end to prepare it for connections. Connect one end of the wire to each button terminal and the other end to the corresponding interface board terminal. Ensure secure connections to prevent any interruptions during gameplay. Group the wires neatly to avoid tangling and ensure ease of troubleshooting later on. Prioritize clarity in your wiring diagram to simplify future checks or adjustments.
Troubleshooting Common Issues
Common issues during arcade button setup may disrupt gameplay. Identifying and addressing them swiftly enhances the gaming experience.
Button Not Responding
Buttons may fail to respond due to wiring issues. Check connections and ensure each wire remains securely attached. A loose connection often leads to non-responsive buttons. Testing the button with a multimeter can reveal wiring problems. Additionally, verify that the button is compatible with the interface being used. Incompatible parts might lead to functionality issues. Consider replacing the button if it repeatedly fails to respond.
Incorrect Button Mapping
Incorrect button mapping can hinder gameplay. First, verify the software settings to ensure buttons align with the desired functions. Many interfaces offer customizable mapping options. An incorrect configuration may result in unexpected behavior during games. Refer to the user manual for guidance on mapping buttons correctly. Reconfiguring settings in the software may resolve the issue. Testing the setup after mapping adjustments confirms that everything functions as intended.
Creating a personal arcade setup can transform gaming into an exhilarating experience. A well-configured button setup not only enhances gameplay but also minimizes frustration. By paying attention to wiring quality and ensuring proper connections players can enjoy responsive controls that elevate their gaming sessions.
With the right tools and guidance anyone can navigate the setup process. Troubleshooting common issues further ensures a seamless experience. Embracing the joy of retro gaming is within reach as long as players commit to a thoughtful approach in their arcade button setup. This attention to detail paves the way for countless hours of entertainment.